Under-Stairs Storage: Maximizing Awkward Spaces
The cupboard under the stairs doesn't have to be a black hole. We've got solutions for deep storage, easy access, and actually finding things again.

Why Under-Stairs Storage Matters
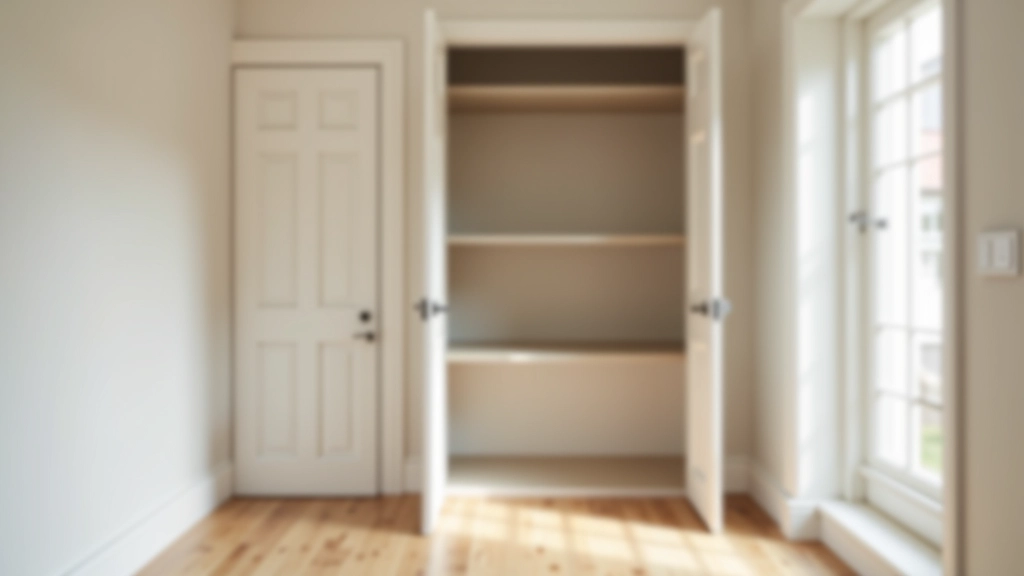
Most terraced houses have it — that triangular cupboard tucked beneath the stairs. But most of us treat it like a storage black hole. You shove things in, close the door, and hope you don't need them again.
Thing is, that space is valuable. In a three-bedroom home, it's often the only dedicated storage beyond wardrobes and cupboards. And here's the real advantage: it's usually deep. You've got access to roughly 12-15 cubic feet in most UK terraced houses. That's room for seasonal items, cleaning supplies, emergency supplies, or anything else you need nearby but not on display.
The challenge? Accessing what's at the back. And keeping it organized so you're not digging through everything to find one thing.
The Access Problem: Why Depth Doesn't Help
Your under-stairs cupboard is deeper than most kitchen cabinets. But depth only works if you can actually reach what's stored there. And that's where most people go wrong.
You've got three problems working against you. First, the sloped ceiling limits how tall boxes can be — standard storage boxes often don't fit. Second, once something goes to the back, retrieving it means removing everything in front. Third, you can't see what's there. You're reaching blind, which means you'll inevitably forget what's stored back there.
The solution isn't to buy more stuff. It's to change how you organize what's already there. We're talking sliding drawer systems, clear containers, and a simple categorization method that takes maybe 30 minutes to set up.

Three Storage Systems That Actually Work
Don't overthink this. You need a system that works with the space you've got, not against it.
Sliding Drawer System
Install shallow pull-out drawers on ball-bearing runners. Three or four drawers maximum, each 8-10 inches deep. Everything's visible, everything's accessible. You're not reaching into darkness or moving three boxes to get one thing.
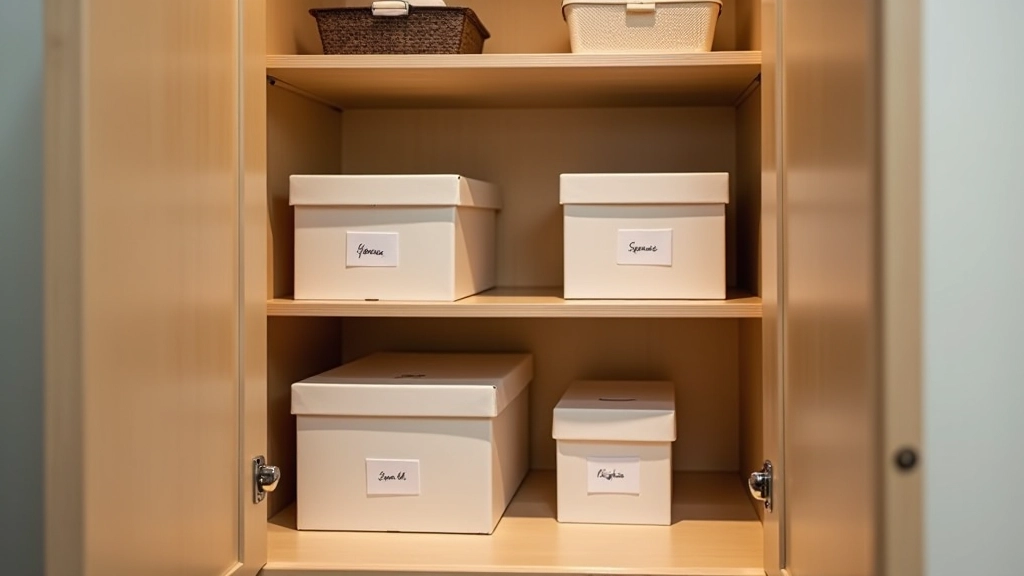
Clear Container Method
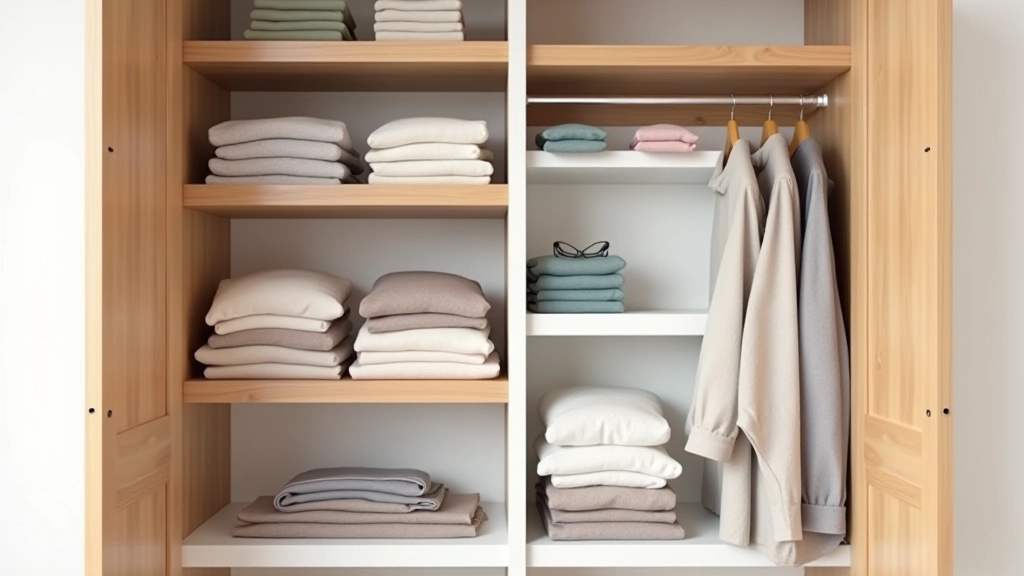
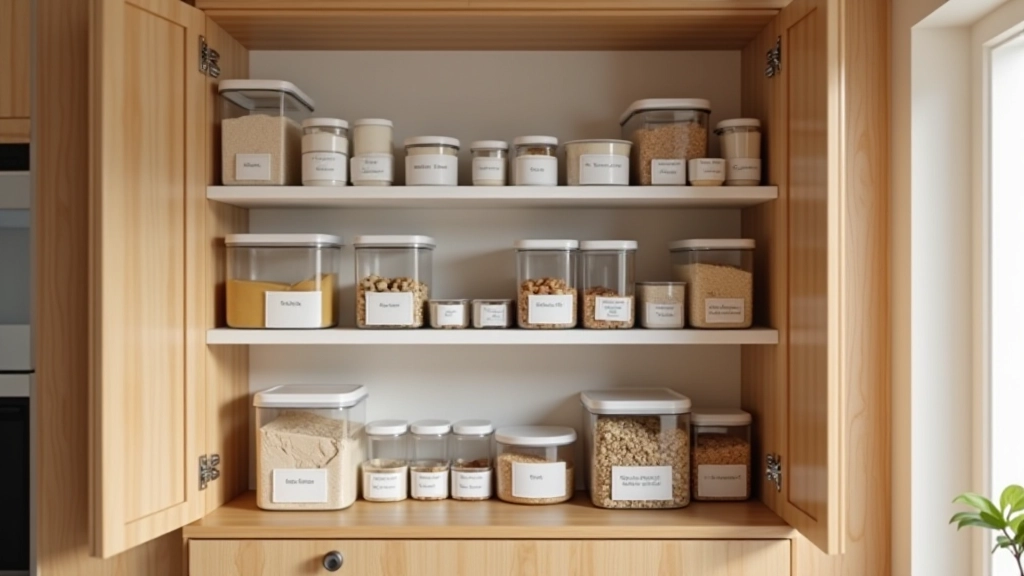
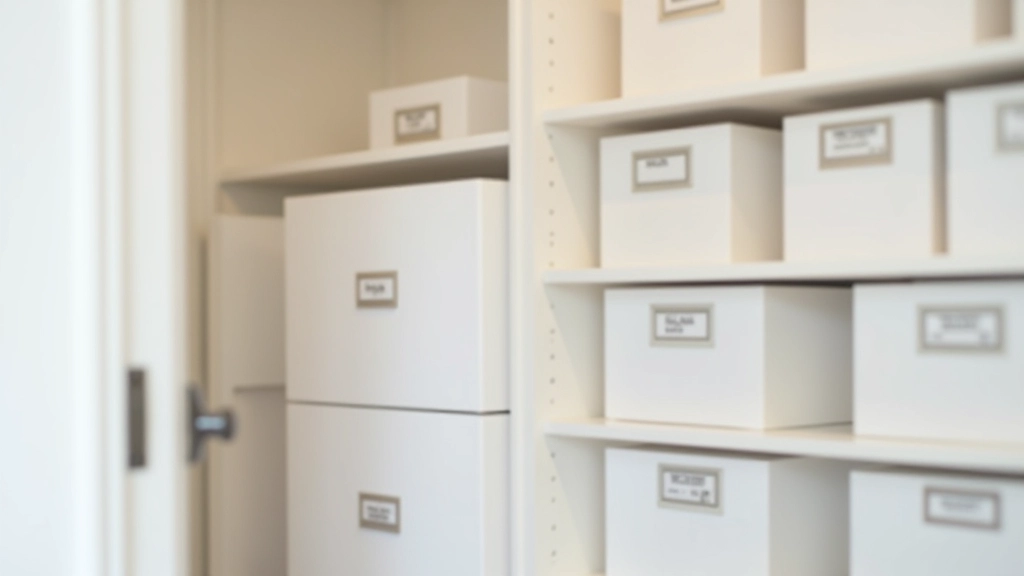
Use clear plastic storage boxes instead of opaque ones. Label them clearly. Stack them strategically so the most-used items are at front or eye level. You'll actually remember what's inside without opening each one.
Tiered Shelf Approach
Install adjustable shelving that steps up to match the slope. This maximizes vertical space and lets you customize shelf height for different items. No wasted dead space at the top.
What Actually Goes in There
Before you start buying storage solutions, decide what actually belongs in your under-stairs cupboard. It's not a dumping ground for things you're not sure about.
Good candidates: seasonal decorations (Christmas boxes, Halloween stuff), emergency supplies (first aid kit, flashlights, batteries), cleaning supplies in sealed containers, tools you use occasionally, extra bedding in vacuum bags. Don't store food (risk of pests), anything damp (mold issues), or items that need temperature control.
The key is frequency of access. Things you grab twice a year? Perfect for under-stairs. Things you need monthly? Probably better elsewhere. Once you've decided what stays, you're ready to organize it properly.
Getting Started: A Five-Step Process
Measure Everything
Get the width at the base, the height at the tallest point, and the depth. Check for uneven floors or tilted walls. Sketch it out or take photos from multiple angles. This takes 15 minutes and prevents buying storage that won't fit.
Empty and Clean
Remove everything. Vacuum, wipe down, check for damp. This is your chance to decide what actually stays and what goes. Don't put anything back until you've sorted it.
Choose Your System
Decide between sliding drawers, tiered shelving, or clear containers. If you're renting, containers are your best bet. If you own, consider permanent shelving — it's worth the investment.
Organize by Category
Group items: seasonal, cleaning, emergency, tools. Use separate containers for each category. Label clearly with what's inside and when you'll need it next. This prevents the "what's in this box?" problem.
Maintain It
Every six months, review what's stored there. Remove anything unused. Reorganize if categories have shifted. This takes 20 minutes and keeps the system from becoming a jumble again.

Making It Stick
Here's what happens if you don't organize it properly: You'll stuff things in again. Within three months you'll forget what's there. In six months you'll be back to a cluttered mess. We've all done it.
The difference with a real system is that it takes maybe 30 minutes to set up, and then it basically maintains itself. You're not fighting against the space anymore. You're working with it.
And honestly? Once you've got your under-stairs cupboard sorted, you'll be amazed at how much breathing room it creates in the rest of your home. That's the real win. You're not hunting through piles looking for one thing. You know where everything is. Everything's accessible. That's the difference between storage that works and storage that stresses you out.
Important Note
This article provides educational information about organizing under-stairs storage. Results vary based on individual space dimensions, home construction, and local building codes. If you're installing permanent shelving or making structural modifications, consult a qualified surveyor or tradesperson to ensure the work complies with UK building regulations and doesn't compromise structural integrity. Always ensure adequate ventilation in storage spaces and check regularly for damp or pest issues.